Now what? Ugh…

The Type R decided life wasn’t exciting enough, so it threw some codes at me and triggered a CEL. For a modded FL5, sure, maybe a P16EB for the Active Exhaust Valve that is no longer on the car, and maybe a P0420 for a car not using the stock turbo-back exhaust, but the B1E9A? C’mon, dammit!

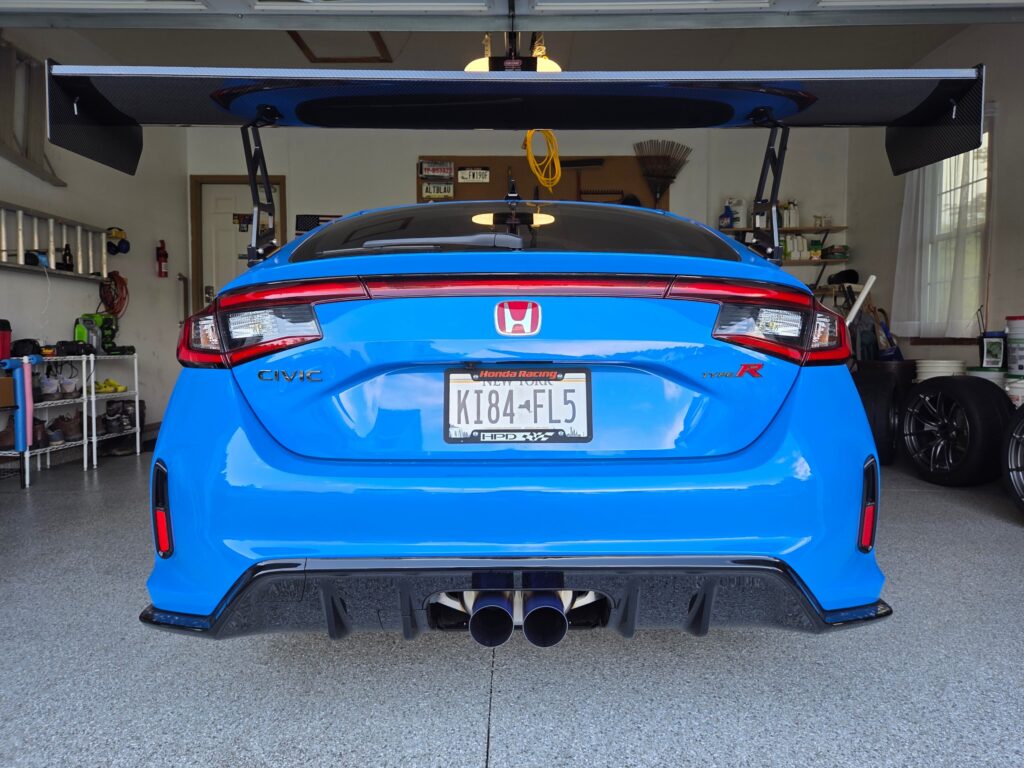
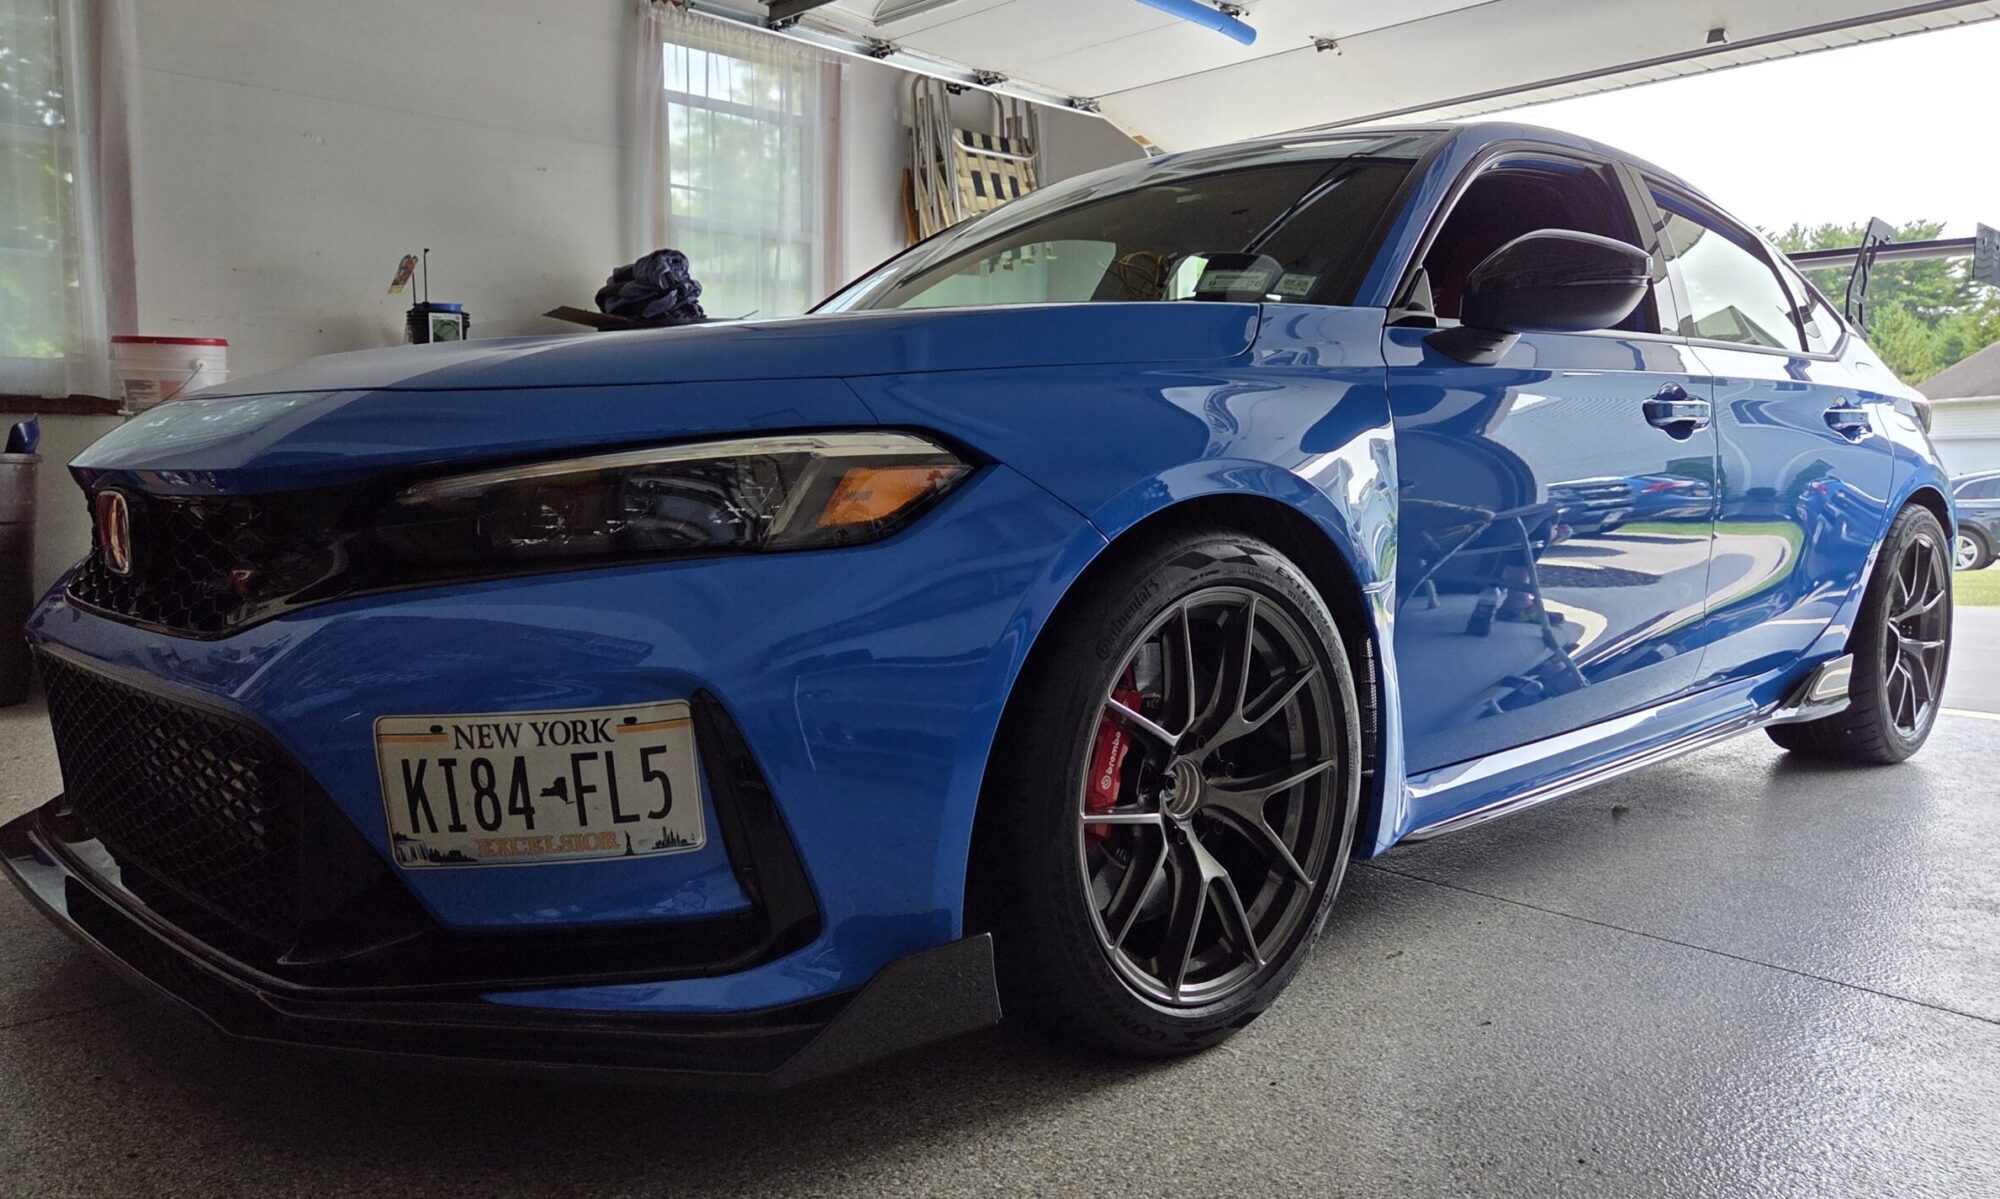
Feeling good about having the FL5 about where I want it, I decided to start driving it a bit more. For a car I’ve owned since October 2023, having just crossed the 4500 mile threshold is a bit pathetic. Drive it and enjoy the thing, right? Sure, 94 octane gas is insanely priced, but still…

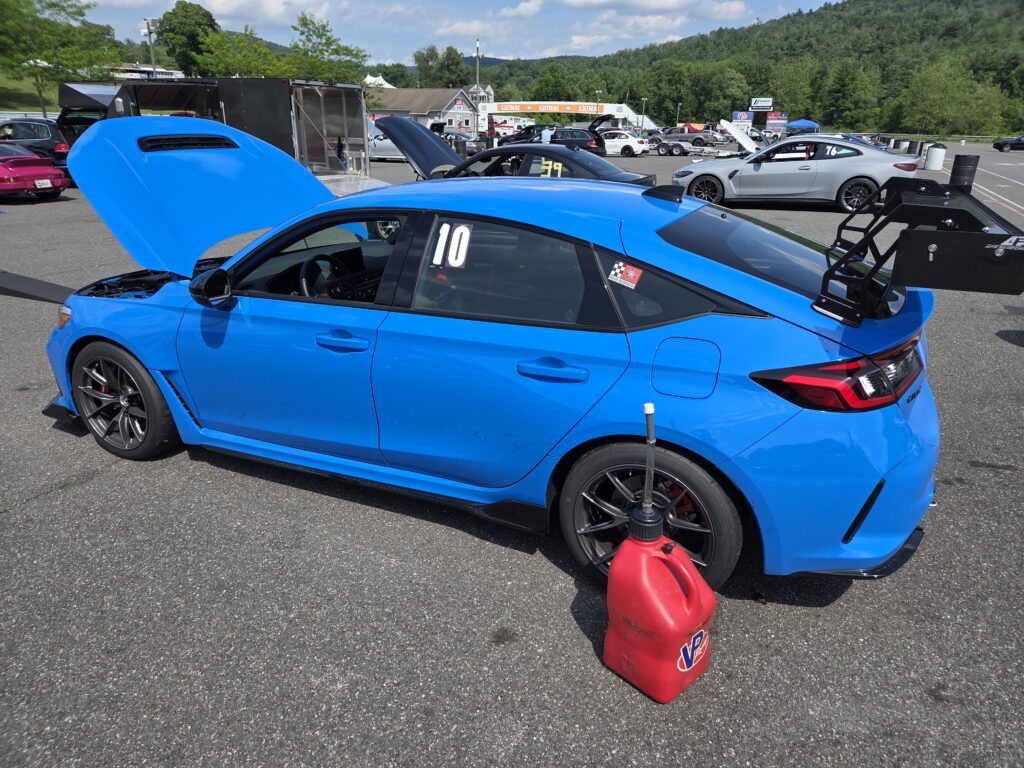
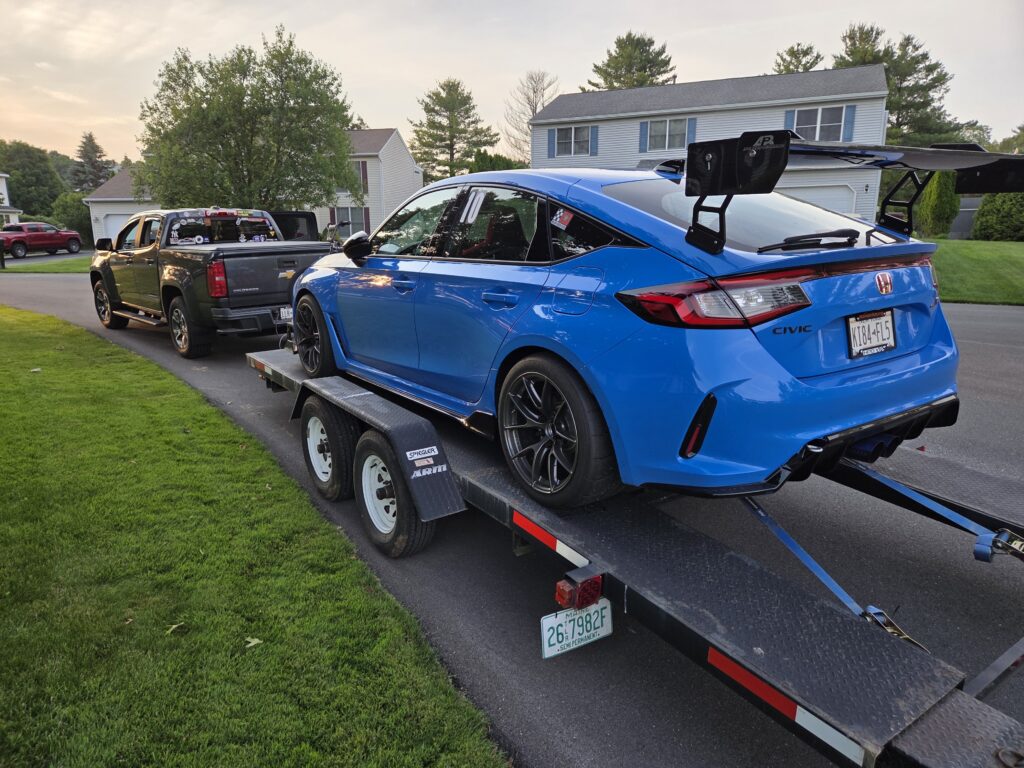
On a relatively nice day, I decided to take the FL5 to our local car wash. The last outing for it was a GTA rally, which took us over some back roads and even some dirt/gravel roads, so the rear bumper had some dust on it, and there were some decent mud splashes in the wheel wells, so I decided to take a run up and wash the car.

Not more than a mile from my house, the car suddenly threw a CEL on the dash, announcing that rev matching was disabled and the car would have reduced power. Sure enough, I noticed the rev matching, which I’ve grown to love, is no longer active.

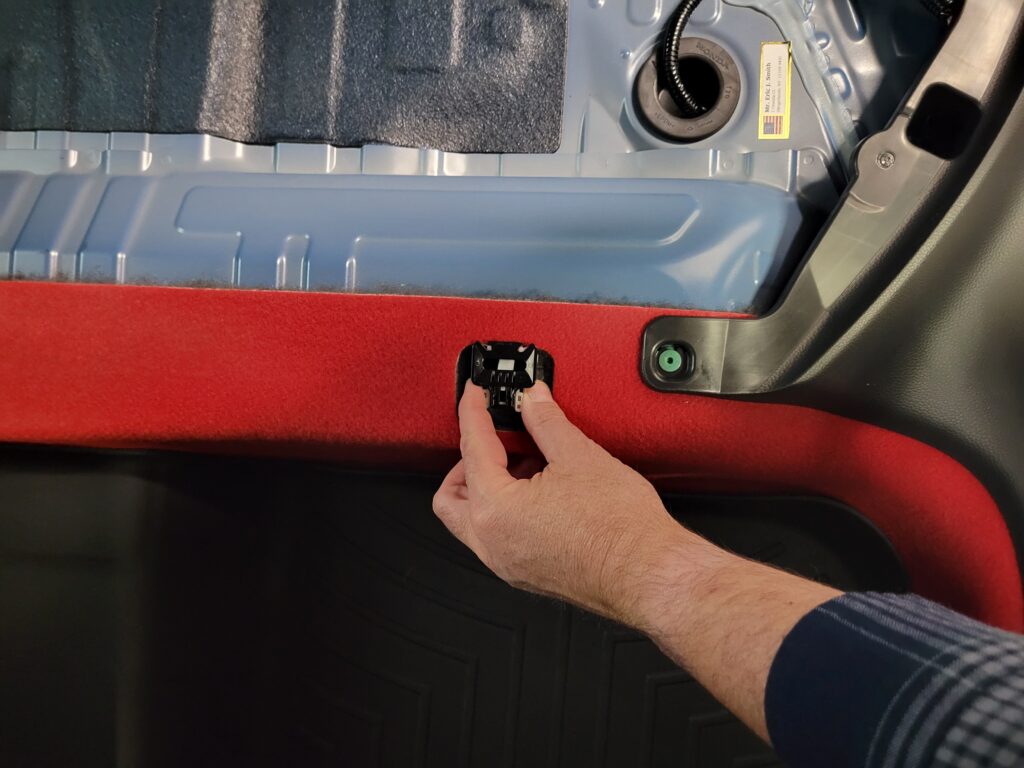
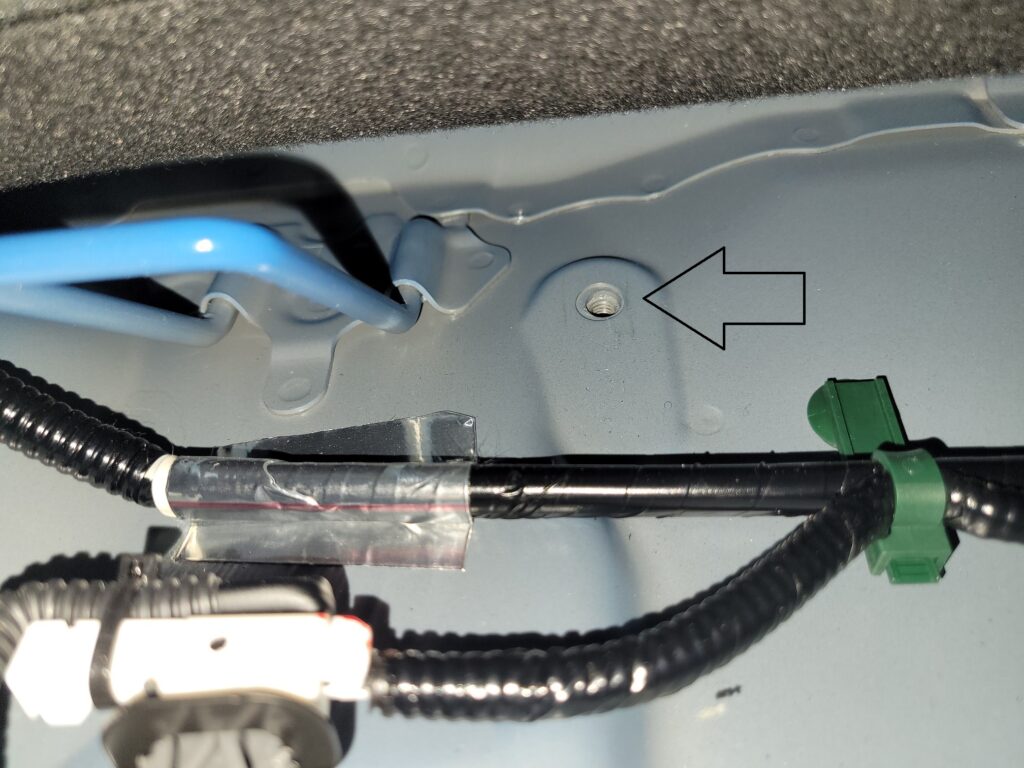
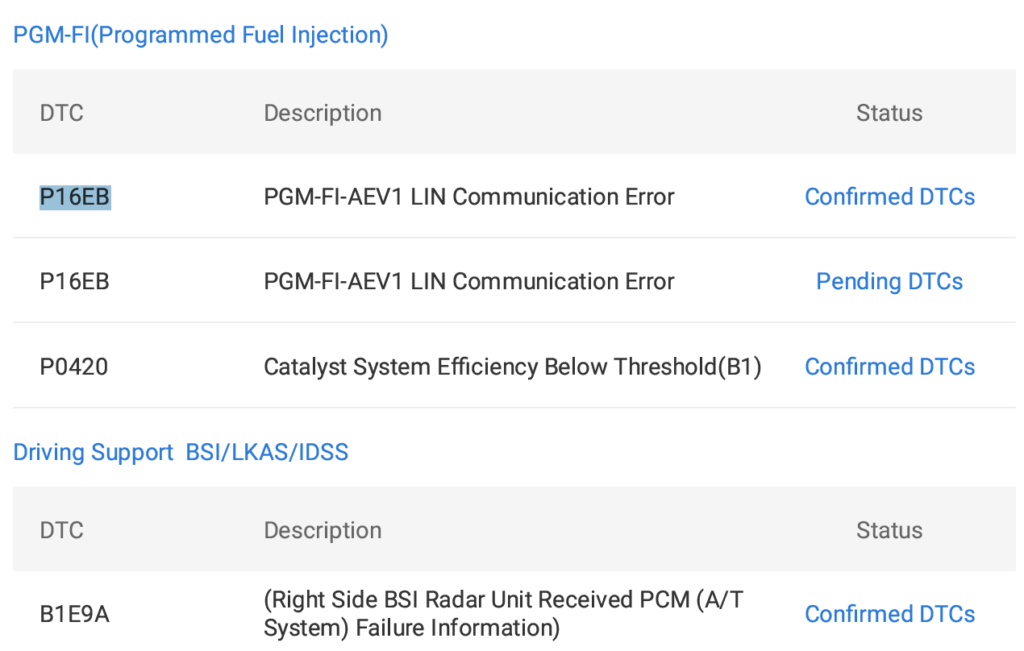
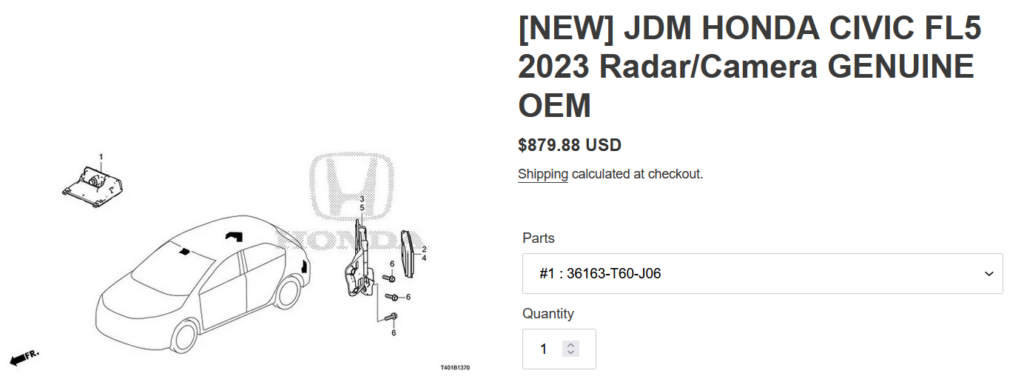
Scanning the car with my Topdon scanner revealed the codes pictured above. I’d run this setup last year all season without a peep, so I was flummoxed as to what might have caused this. Got talking with a friend and remembered I’d added a TSP intake coupler at the end of last season (it really cleans up the look of the engine bay), but even with that change, I can’t imagine that would be enough to cause all these codes. The ‘Right Side BSI Radar Unit’ code is the real head scratcher – why is that squawking?

The three components involved in the safety system of the FL5. I believe the component mentioned in B1E9A is in the rear corner of the car.

Two causes came to mind, and I’m not digging either possibility. First is that perhaps a rodent has chewed some wires and is causing some false positives? I had some traps set in our nicely appointed garage, and surprisingly caught a few mice and shrews in them throughout the winter. Foot note – I learned a lot about shrews from Reddit after catching one and trying to confirm it was a vole. Found an excellent thread on Reddit that explained the differences between mice, voles, and shrews. Did you know shrews have a poisonous bite? Now you do.

The other one, that scared me at the time, and had faded after I didn’t have issues, was my use of an ozone generator from Amazon to address a swamp smell my lovely crap dealership gave me as part of the dealer prep and delivery of the car. My guess is whoever the $15/hr prep guy was used some mildewed water left over from previous cars to wipe down or otherwise clean the interior. Didn’t notice it much when I picked up the car, but over the weeks I had it it become very noticeable, and was embarrassing when folks stuck their head in the car to check out the interior. I bombed the interior of the car for 30 minutes and then dealt with a lingering and overpowering ozone smell that lasted for nearly a year. Researching after the fact on ozone gave some troubling info about the potential for high concentrations of ozone to damage electronics and plastics. I held my breath and crossed my fingers, and last year the smell had finally dissipated, so I felt I had cross that threat threshold, but this incident had me guessing again whether it might be to blame. From further reading I’ve done on the subject, I’ve read that the level of exposure my car endured to rid of the swamp smell was nowhere near the levels and length of time needed to be at risk of damage. I’m trusting my research is correct.

The Two Step Performance intake coupler (silicone hose connected to the PRL High Volume Intake) gives a much better look than leaving the OEM coupler in there and its hard plastic.

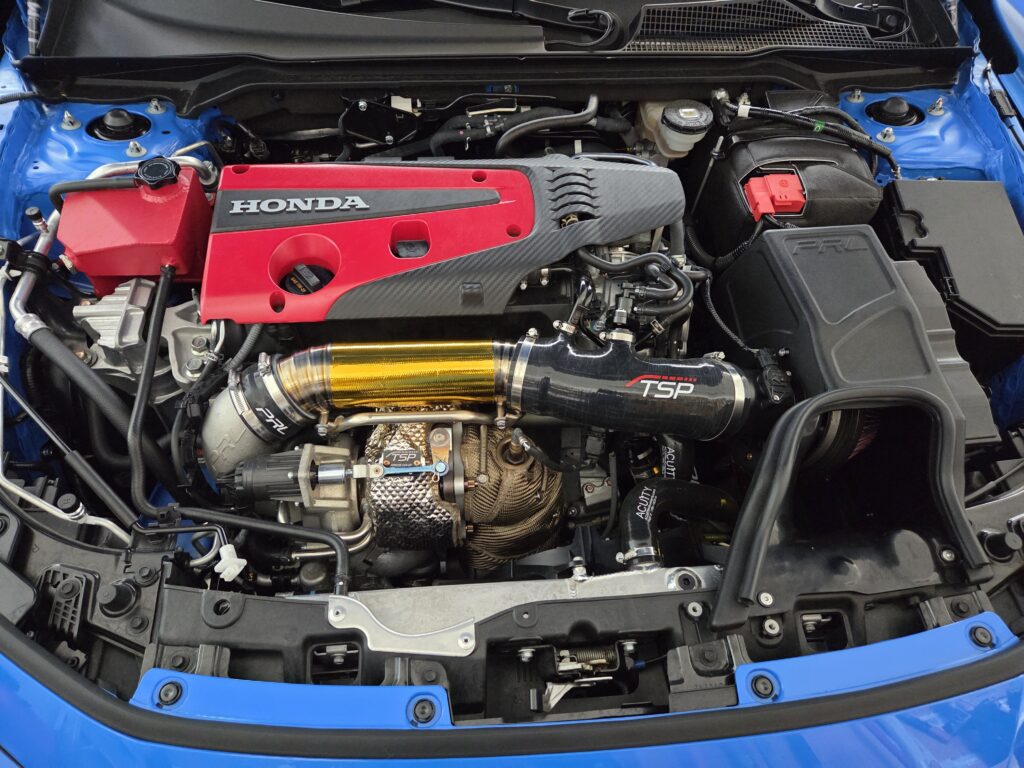
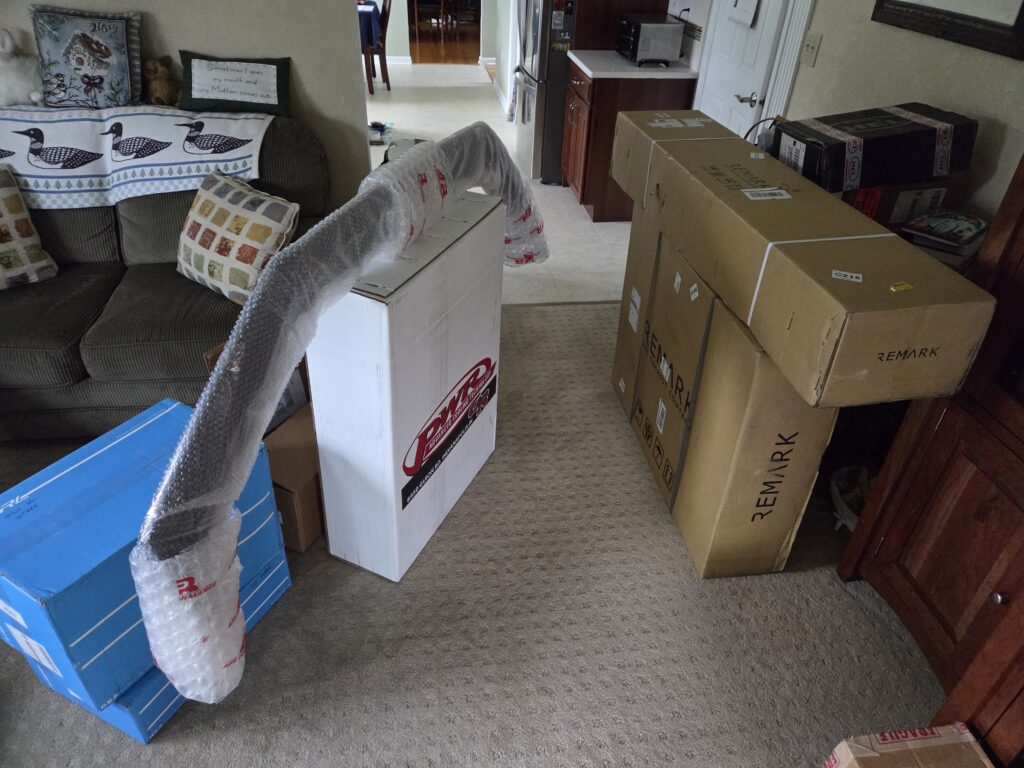
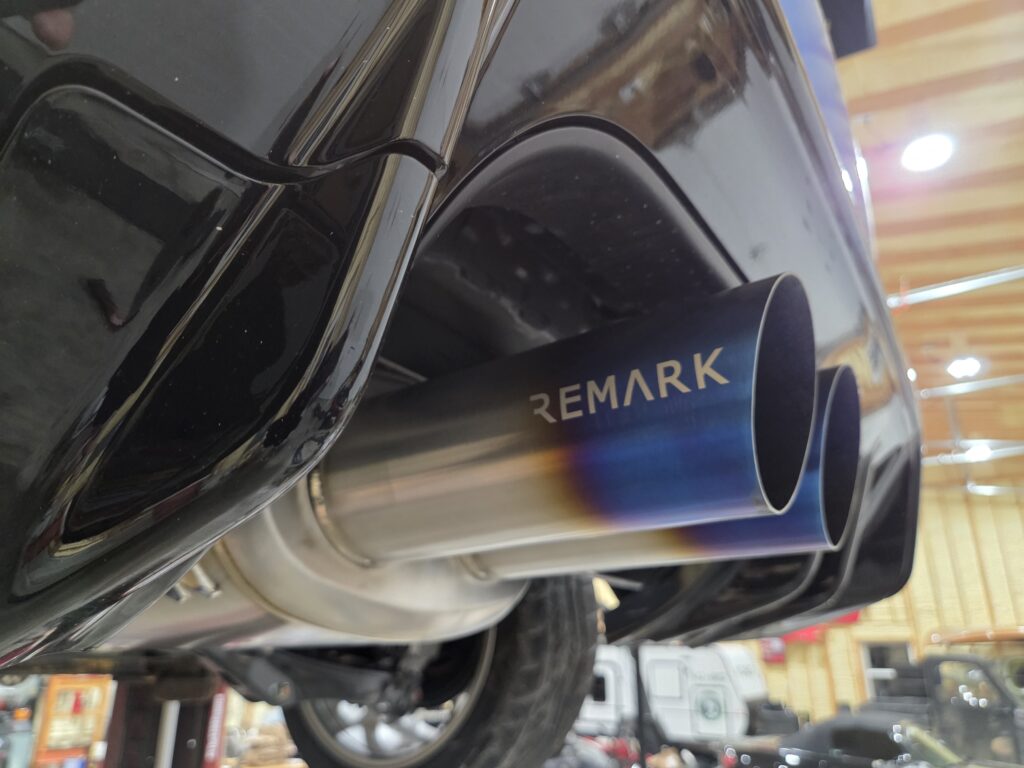
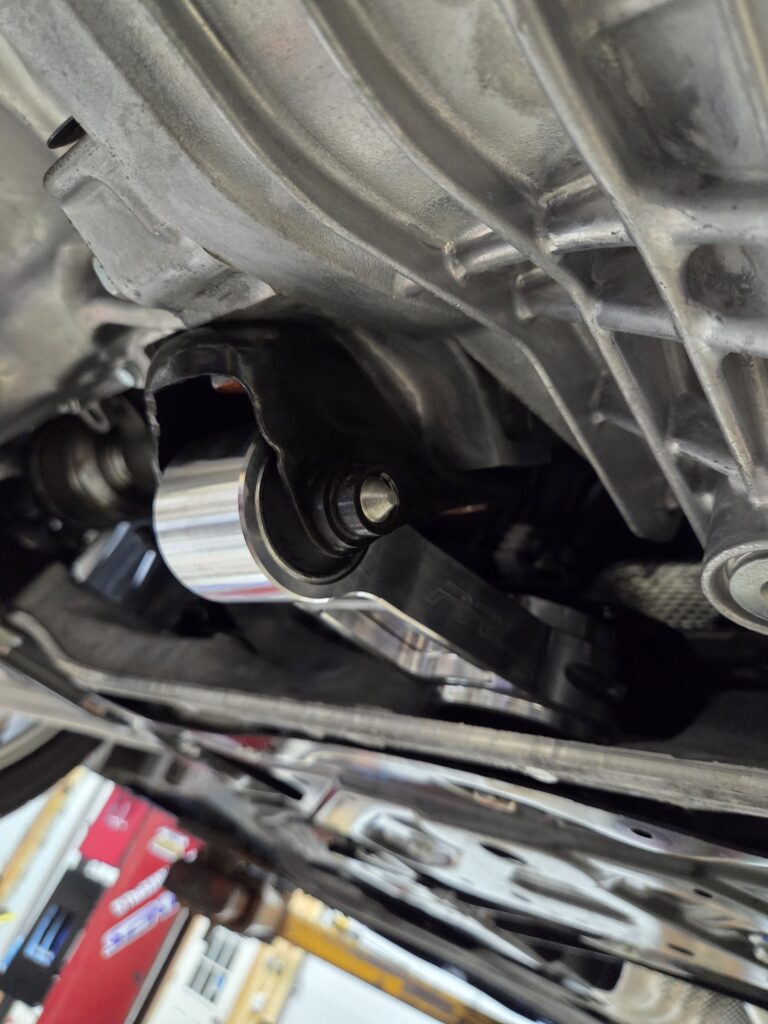
Doing some research on these codes tells me that the P0420 is typically associated with down pipes, especially un-catted ones. My downpipe is a TSP catted pipe, valued for its ability to NOT trigger a code. The P16EB code is associated with an issue with the active exhaust valve that comes on the OEM exhaust. That whole exhaust was replaced by a Remark Ti exhaust, and thus the active valve hasn’t been connected in over a year. A quick search shows that FL5 owners typically don’t get a code from having the valve disconnected. I had previously pulled the fuse to keep the valve open for a more aggressive exhaust note on the stock exhaust (hint – it barely made a difference, and thus the beautiful sounding Remark exhaust), but just in case I’ve put the fuse back in for the non-existent valve.

Searching the internet about the B1E9A code was scary, as I got ZERO hits about it other than some Honda parts schematics showing the components involved. I think only one or two links were related to the FL5 platform – most were for Honda SUVs. The CivicXI.com forums are silent on references. Crickets has me pretty nervous.

I put a post up in the forums about the issues, but have only gotten a lone response that suggested clearing the codes and see if they come back. Probably a good suggestion as it is cheap and easy. If not, I’ll likely get a shop involved to see if they can find any issues that might explain the occurrence.

Fully modded!

Over the course of the nearly two years I’ve owned my Type R, I immediately started accumulating parts to not only enhance its performance on the track, but to give it a bit more pizazz in the style I like. Hanging out on the CivicXI.com forums and reading of others’ experiences on track, I knew that early indications were that the FL5 platform was better than the FK8 platform at heat dissipation, but there there was still a lot of room for improvement. I also knew that while some were happy that the looks of the FL5 had been taken down a notch from the ‘boy racer’ look of the FK8, I wasn’t quite ready to grow up.

The other big deficit this car had was sound… it had no indication that it was anything more than a normal Civic hatchback. I decided to address all of these perceived deficits and do what I could to bring it up to my standards.

Parts. Lots of parts. Thousands of dollars of parts. While I got out from under my BMW M2 Competition due to parts costs, the Civic Type R isn’t nearly as bad as the BMW tax, but it still sometimes shocks my pre-pandemic sensibilities.

I’ve come to rely on @TwoStepPerformance / TwoStepPerformance.com as a trusted source of the parts I’ve read about and determined I’d like to add to my vehicle. I started sifting through their site and picked up as many of these parts on my list from them as possible. I’ve found Two Step to be a great partner to deal with: good pricing, good selection of quality products, and excellent customer communication and support.

A buddy of mine found me a great deal on a used APR Swan Neck wing, and after coaxing the seller to package the wing and sell it to me, I took on that project and installed it. I knew it would look great paired with the APR front lip I was having installed, and it looks as good as I anticipated.

After getting over my fear of invalidating my car’s warranty, I finally decided it jump in and get this project moving. First up, I wanted to get the car dyno’d in stock trim to get a feel for what it was making before I threw all these parts at it. I made an appointment at Round Lake Auto to have Roz do some dyno runs of my car. Roz was very friendly, as was everyone at the shop, and had me sitting in the car to watch my car’s process of doing some dyno runs, then uploading my tune from @JesterTuned / JesterTuned.com. I’ll do a full write-up on planning for my tuning of the Type R. For a brief overview, I ordered a spare ECM, purchasing an Acura Integra Type S engine control module (ECM) because a) it’s the same the Type R’s, and b) availability is better and it’s cheaper.

The dyno measurement proved that Jester found a lot of performance that Honda left on the manufacturing floor, boosting the FL5’s performance numbers:

Mustang DynoStockJesterTunedGains
Wheel HP260 HP @ 6.7k rpm302 HP @ 5800 rpm+42 HP
Torque (ft-lb)280 ft-lb @ 3k rpm341 ft-lb @ 3.3k rpm+61 ft-lb

Next up was reaching out to All Tech Automotive and get some time scheduled for an install appointment for all of this stuff. As a testament to the Type R’s storage capacity, I got all but the intercooler into the car. It was so packed, I could not see out the rightside mirror or even the right side of the car, but it help almost all of the parts I’d bought. Semir & Jake of All Tech did a fantastic job of installing the parts, but we had to push some of the project out in order to make my Lime Rock Park track day event. Time ran out before my track day at Lime Rock Park to get my Whiteline Front Camber adjustment kit installed, so that will get done soon.

One thing that popped up immediately (other than the turbo and downpipe blankets curing and smoking lightly on the way home after everything was buttoned up and I drove it for the first time), was a well-known issue of the low-temp thermostat causing a P0128 CEL. Apparently Honda wants the engine to come up to temp quickly for several reasons, so the early opening thermostat triggers the code. The error on the dash warns that power will be reduced, and that the auto-rev match function will be disabled. I found no evidence that the car’s power had been reduced, as the car seemed plenty powerful during my on-track sessions, but indeed the rev matching function was disabled, which I missed since I’m not a great heel-toe guy. I reached out to Jester to see if anything could be done to address the code being triggered, and Jester sent me a new flash tune that would keep the code from being triggered. I ended up flashing my FL5 at the track after the 1st day of on track activities, Sure enough, the code was gone, and I regained my auto-rev matching during the following sessions of the day.

Swapping In Acura ITS ADM on the CTR: Acronym City

“Under braking in Sport or +R modes, the car skipped over pavement
ripples until we switched the adaptive dampers to Comfort mode.”

Car and Driver, 2023 Honda Civic Type R at Lightning Lap 2023, February 2023

Having tracked cars for nearly 20 years, I took note of this criticism by the experts at C&D, and figured if there was a way to address this issue, I’d do it. Most performance enthusiasts realize that if a car’s tires aren’t maintaining contact with the road surface, traction is going to be compromised, and the fast way around a track is usually involving maintaining maximum traction to keep speed in every section of the track.

Fast forward to time spent on the 11th Gen Type R forums, and users started to discuss swapping in the Active Damper Module (ADM) (Acura part number 39381-31M-A03) from the plushier Acura Integra Type S (ITS), into the Honda Civic Type R (CTR), and thus taking the harsh edge off the Type R’s three modes for its adjustable damper settings (Comfort, Sport, R+). Most of the folks who were investigating this mod said they were looking to lessen the jarring ride of the CTR on the street, and not much emphasis was being put on the performance aspect.

Since the weather was really nice today, it was time to spend a little time out in the garage and start whittling down the pile of parts I have in the basement. First up: the Active Damper Module (ADM) swap.

I watched a YouTube video by another FL5 owner on what he did to swap out his OEM module with the Acura module, and it seemed pretty simple. I did notice that there were several small parts that could use some detail. The overall process is as follows:

  1. Remove the back seat pad.
  2. Remove the left side bolster air bag module & trim piece.
  3. Unplug the OEM ADM unit from the wire harness.
  4. Remove the OEM ADM unit.
  5. Install the Acura ADM.
  6. Plug the ADM harness into the ADM unit.
  7. Reinstall the left side bolster airbag & trim.
  8. Reinstall the back seat bottom cushion.

Tools needed

  • 10mm socket
  • Long (6″ or more) socket extender (needed for the seat bottom cushion removal
  • Flat blade screwdriver or similar to gently pry a trim panel cover on the air bag bolster

For the back seat bottom cushion removal, I was confused as to how to release the two catches under the front edge of the bottom cushion. After I figured it out, I ended up reattaching the catches as I had to kneel on the seat cushion to find the single 10mm bolt that holds the seat cushion in place. Hint, it’s about 2-3″ to the right of the driver side seat belt latch as you face the rear of the car. Here’s the metal bracket molded into the rear seat cushion’s back edge:

Feel around under the cushion, and you’ll find these catches. What I finally figured out was to grab the front portion of the catch, pull it horizontally towards the backs of the front seats, and the cushion will pop up. It should pop up as you’ll have to put some pressure on that cushion to fit your hands/fingers in to release the catches. I started on the passenger side and then

When you reinstall the rear seat bottom cushion, you’ll need to find the hole to reinstall the 10mm bolt you removed earlier. Once you get the seat cushion in place, make sure the catches latch it into place. At that point, the metal bracket in the seat bottom should be lined up properly with the bolt hole in the trunk dividing panel. I had to feel around as it’s pretty difficult to see it. I ended up putting the bolt in the socket, held it by the socket extension, and then gingerly started the bolt in the thread. Here’s what you’re looking for:

The metal bracket in the seat cushion should line up pretty well with this bolt hole once the seat cushion is latched back into the catches on the front edge.

It took me just under 30 minutes to perform this swap, and that was with fumbling around to figure out how the bottom catches work, taking pictures, and figuring out the cushion’s bolt needed to come out before unlatching the catches. Super simple!