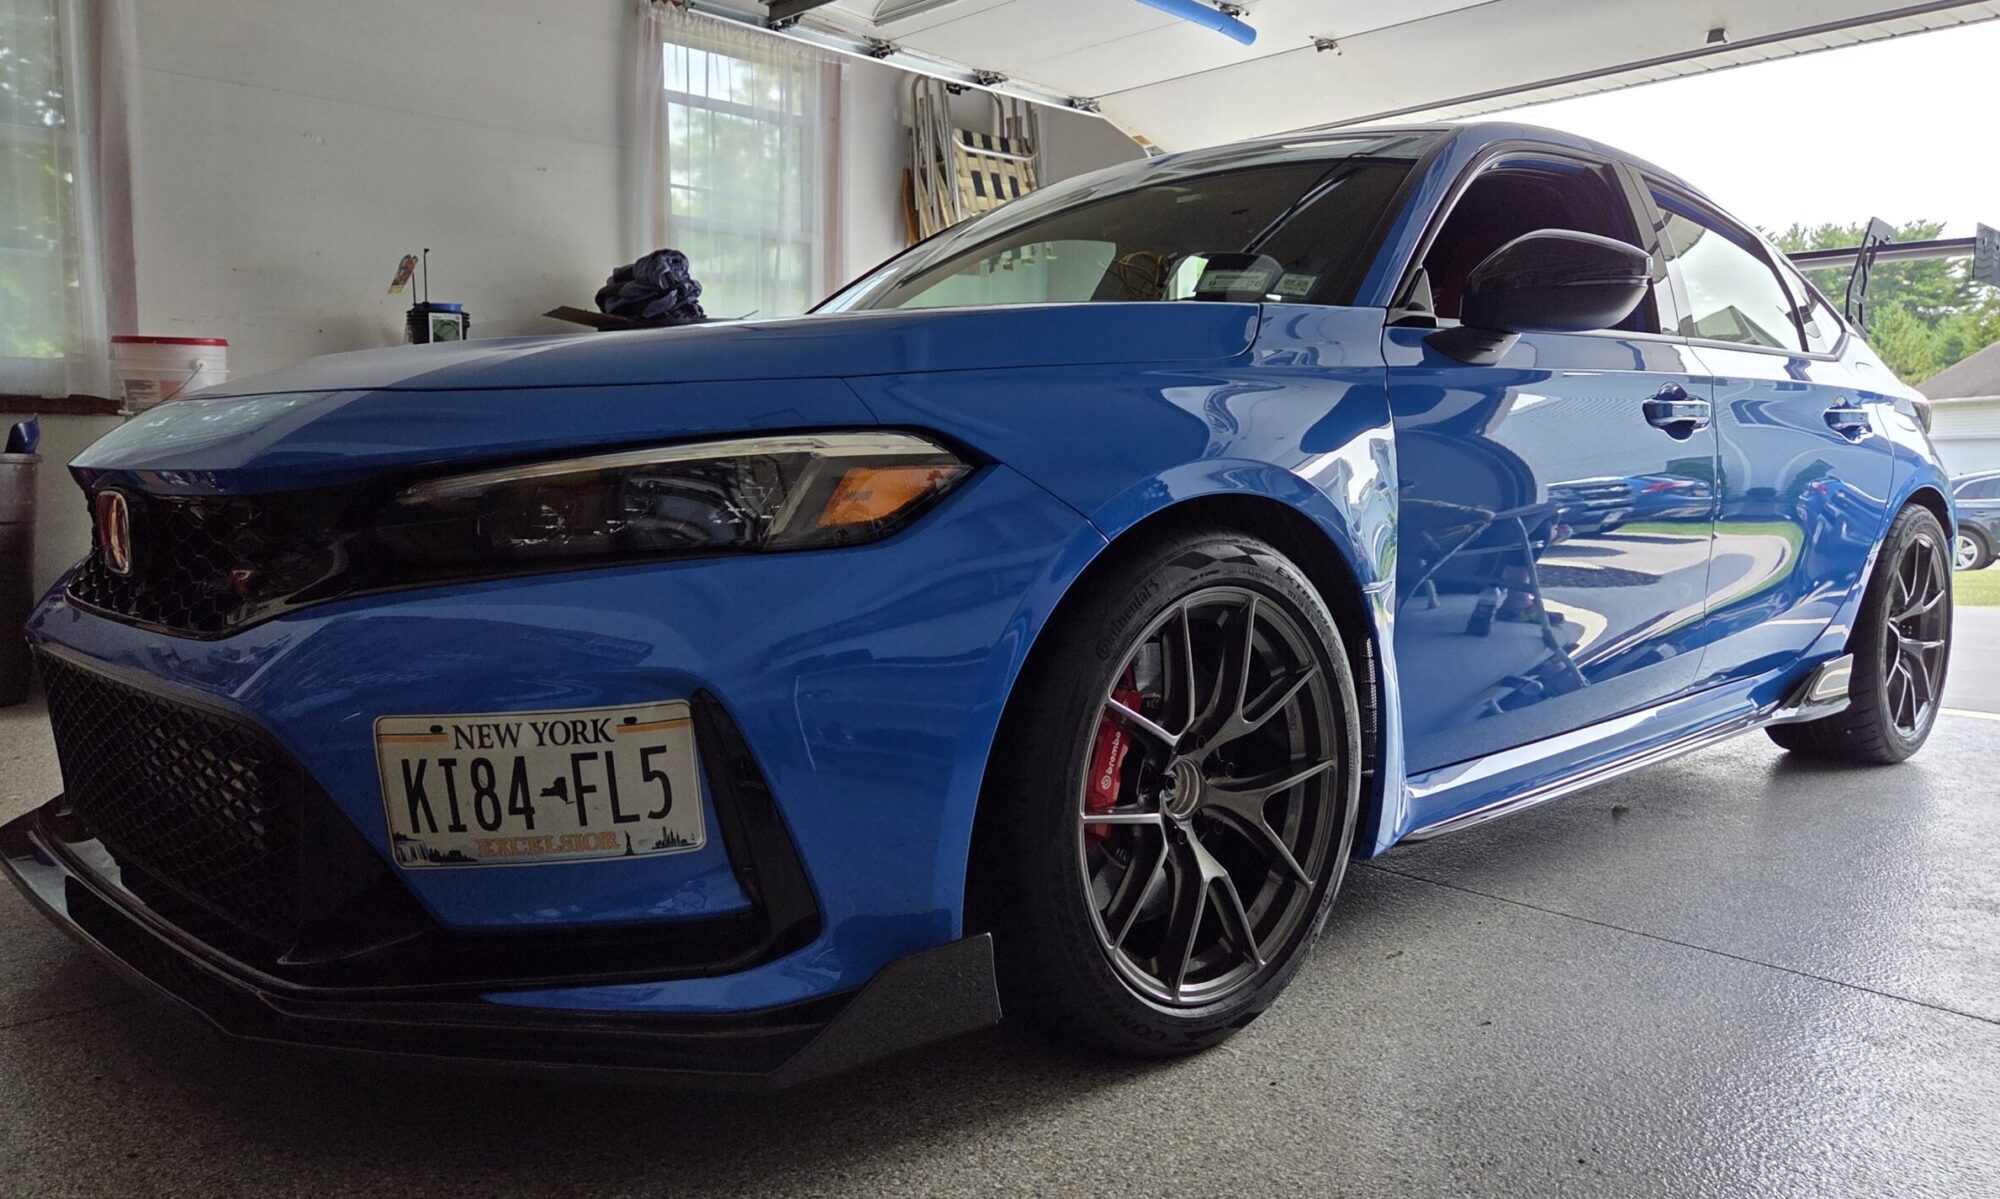
Over the course of the nearly two years I’ve owned my Type R, I immediately started accumulating parts to not only enhance its performance on the track, but to give it a bit more pizazz in the style I like. Hanging out on the CivicXI.com forums and reading of others’ experiences on track, I knew that early indications were that the FL5 platform was better than the FK8 platform at heat dissipation, but there there was still a lot of room for improvement. I also knew that while some were happy that the looks of the FL5 had been taken down a notch from the ‘boy racer’ look of the FK8, I wasn’t quite ready to grow up.
The other big deficit this car had was sound… it had no indication that it was anything more than a normal Civic hatchback. I decided to address all of these perceived deficits and do what I could to bring it up to my standards.
Parts. Lots of parts. Thousands of dollars of parts. While I got out from under my BMW M2 Competition due to parts costs, the Civic Type R isn’t nearly as bad as the BMW tax, but it still sometimes shocks my pre-pandemic sensibilities.
- PRL High Volume Intake
- PRL billet intercooler
- PRL charge pipe kit
- PRL Titanium Turbo Inlet Pipe kit
- PTP Turbo blanket
- TSP Cerakote Downpipe w/ Ti turbo inlet pipe stud kit
- PTP Downpipe blanket
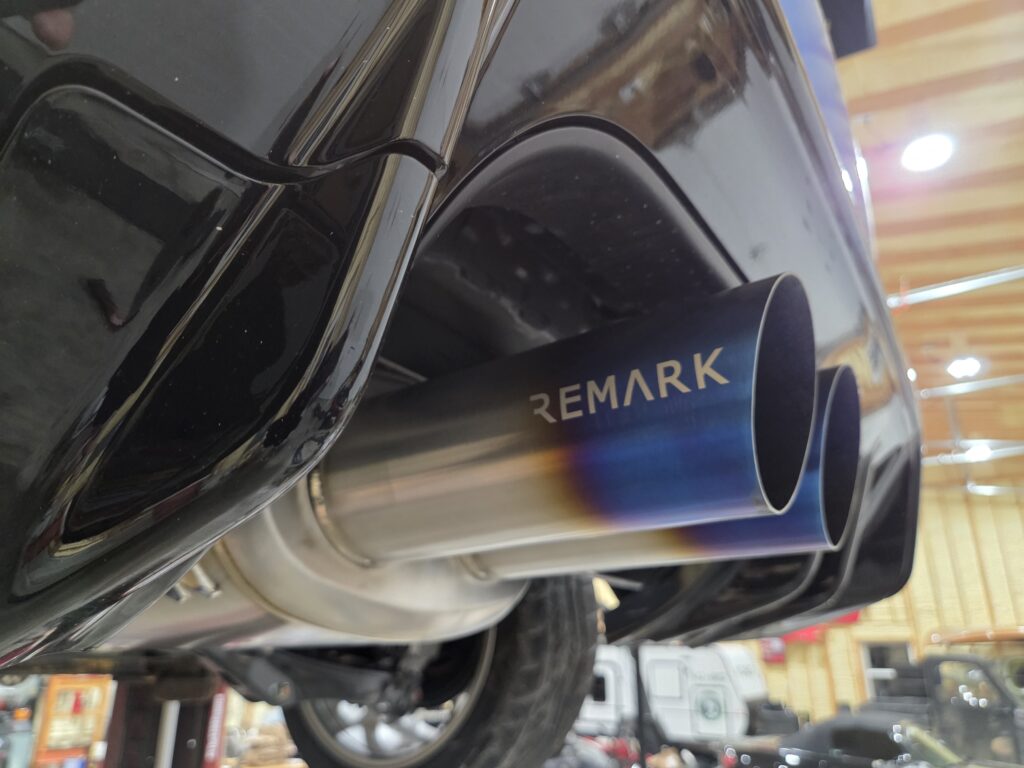
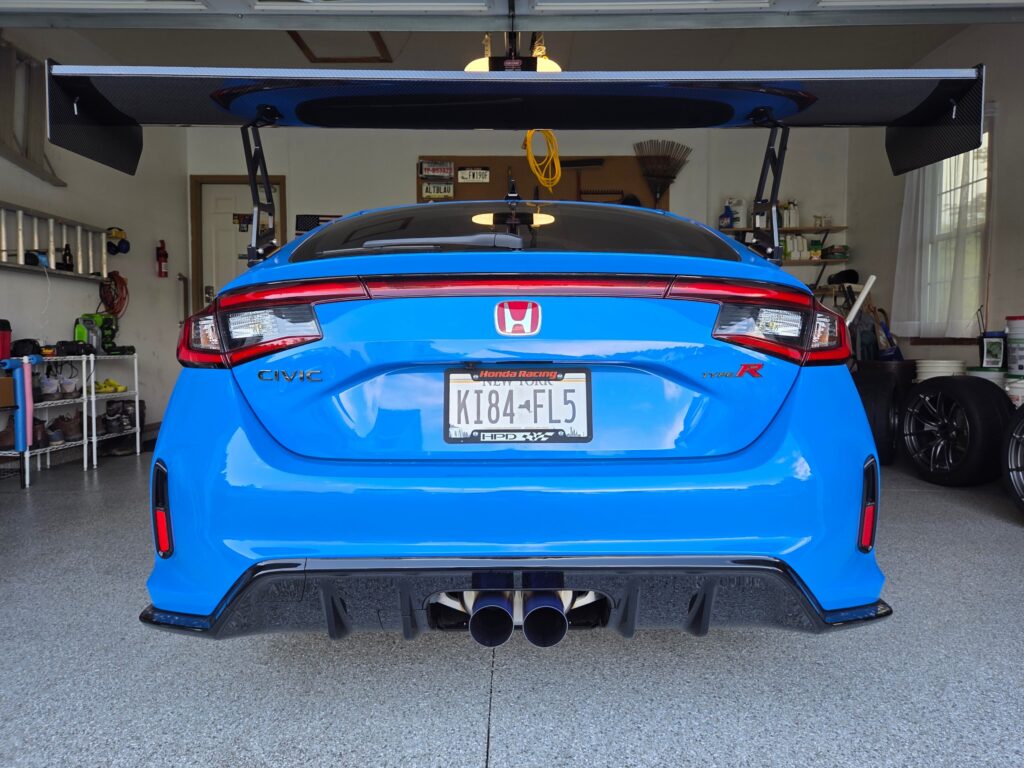
- Remark Ti exhaust
- Hybrid Racing Low Temp thermostat
- HEL Oil Cooler kit
- PWR racing radiator
- Acuity reverse flow radiator hoses
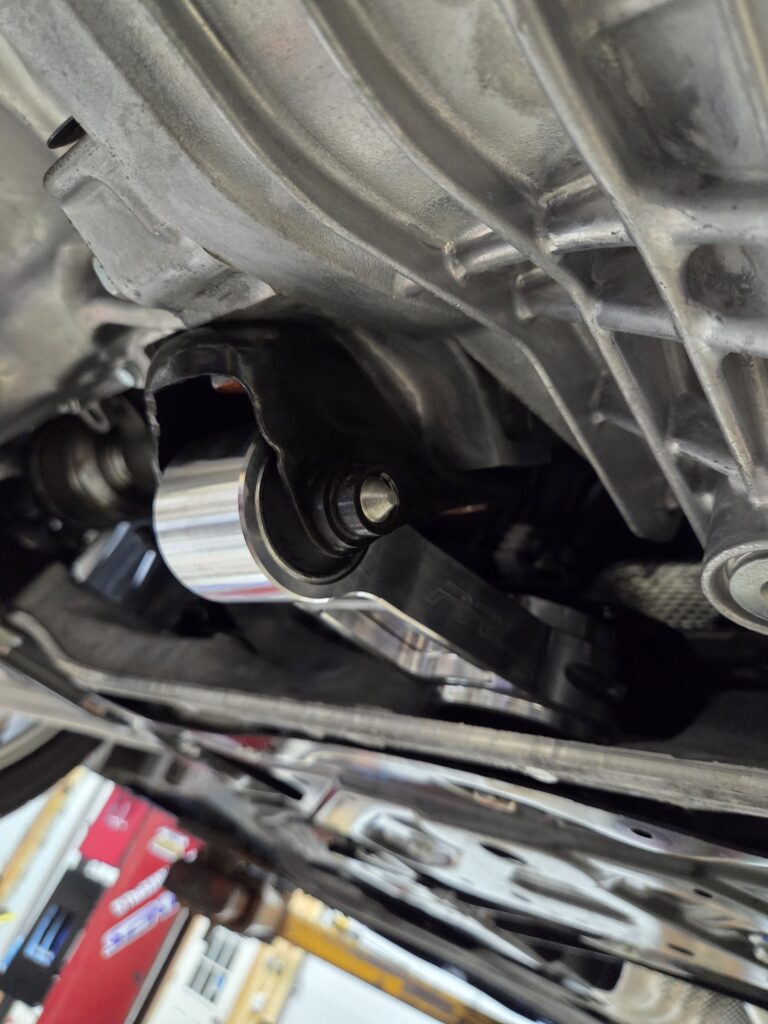
- PRL rear motor mount
- W.O.T. cooling plate
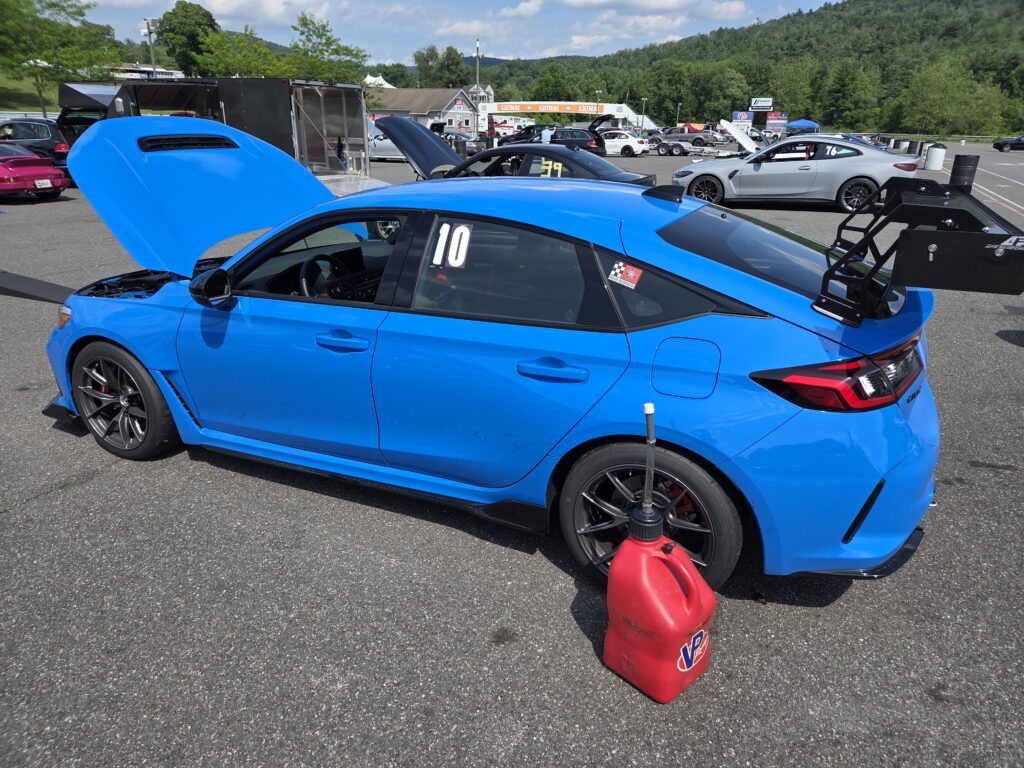
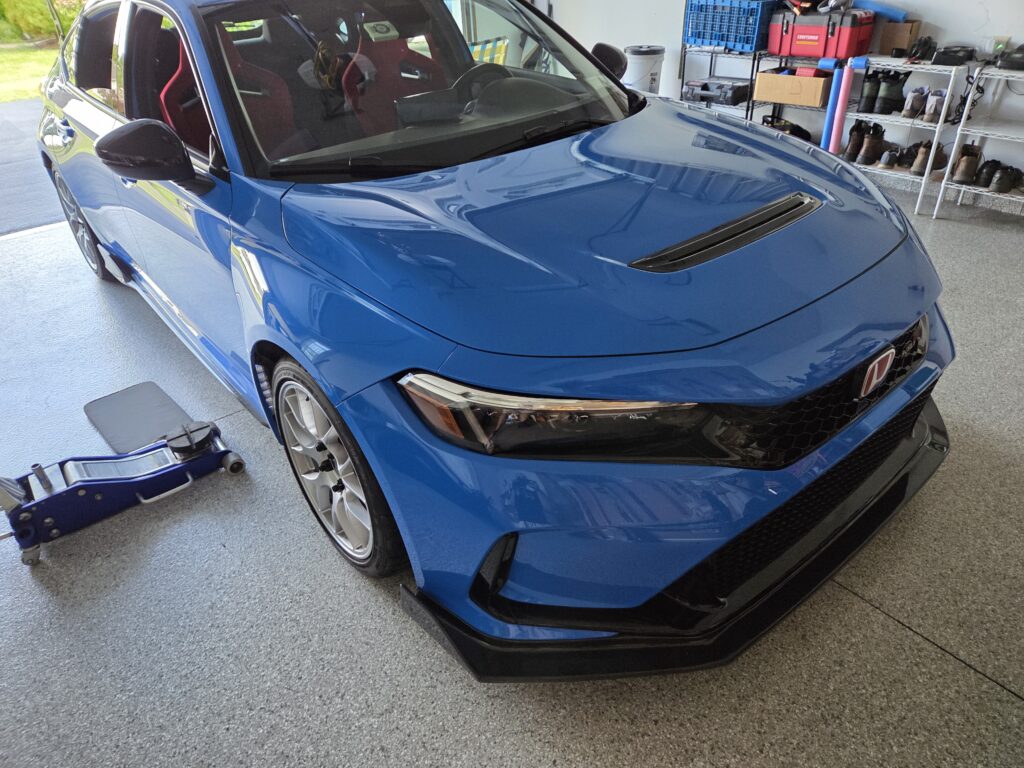
- APR carbon fiber lip
- Hondata Mini FlashPro
- Acura Integra Type S ECM
I’ve come to rely on @TwoStepPerformance / TwoStepPerformance.com as a trusted source of the parts I’ve read about and determined I’d like to add to my vehicle. I started sifting through their site and picked up as many of these parts on my list from them as possible. I’ve found Two Step to be a great partner to deal with: good pricing, good selection of quality products, and excellent customer communication and support.
A buddy of mine found me a great deal on a used APR Swan Neck wing, and after coaxing the seller to package the wing and sell it to me, I took on that project and installed it. I knew it would look great paired with the APR front lip I was having installed, and it looks as good as I anticipated.
After getting over my fear of invalidating my car’s warranty, I finally decided it jump in and get this project moving. First up, I wanted to get the car dyno’d in stock trim to get a feel for what it was making before I threw all these parts at it. I made an appointment at Round Lake Auto to have Roz do some dyno runs of my car. Roz was very friendly, as was everyone at the shop, and had me sitting in the car to watch my car’s process of doing some dyno runs, then uploading my tune from @JesterTuned / JesterTuned.com. I’ll do a full write-up on planning for my tuning of the Type R. For a brief overview, I ordered a spare ECM, purchasing an Acura Integra Type S engine control module (ECM) because a) it’s the same the Type R’s, and b) availability is better and it’s cheaper.
The dyno measurement proved that Jester found a lot of performance that Honda left on the manufacturing floor, boosting the FL5’s performance numbers:
| Mustang Dyno | Stock | JesterTuned | Gains |
| Wheel HP | 260 HP @ 6.7k rpm | 302 HP @ 5800 rpm | +42 HP |
| Torque (ft-lb) | 280 ft-lb @ 3k rpm | 341 ft-lb @ 3.3k rpm | +61 ft-lb |
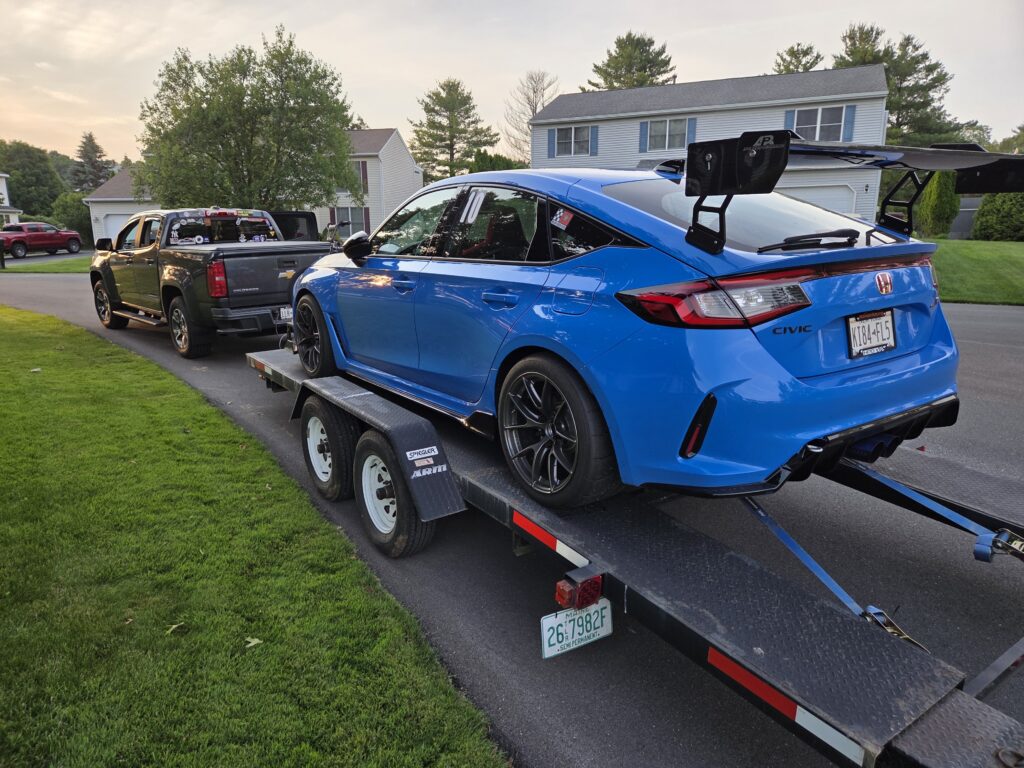
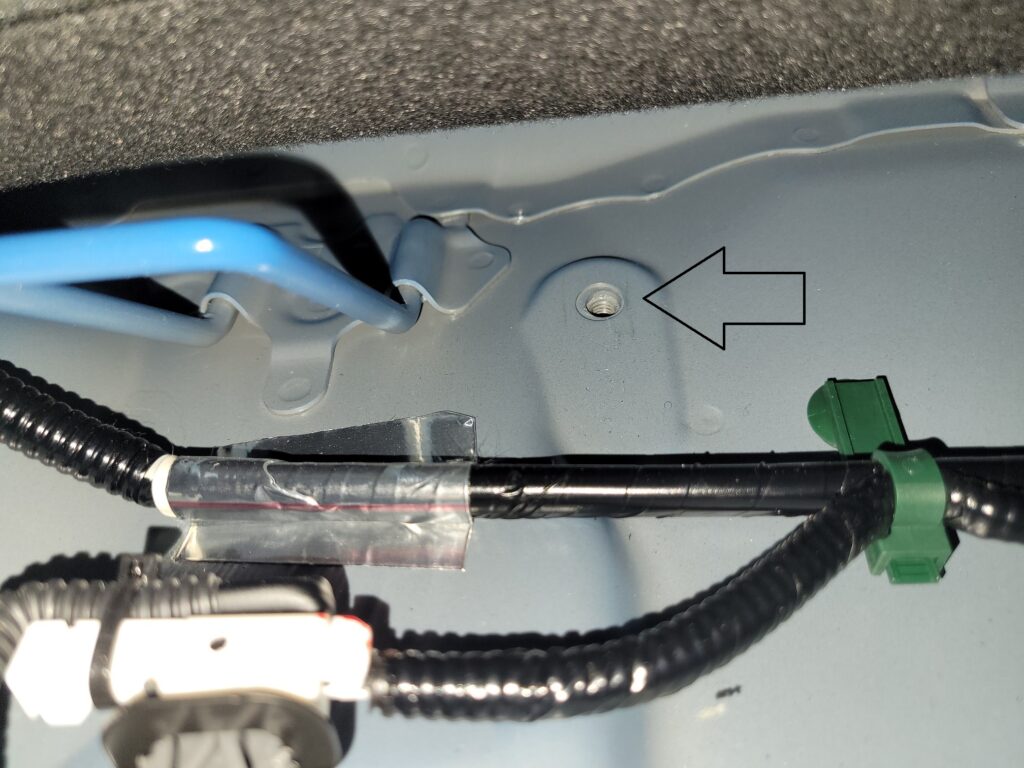
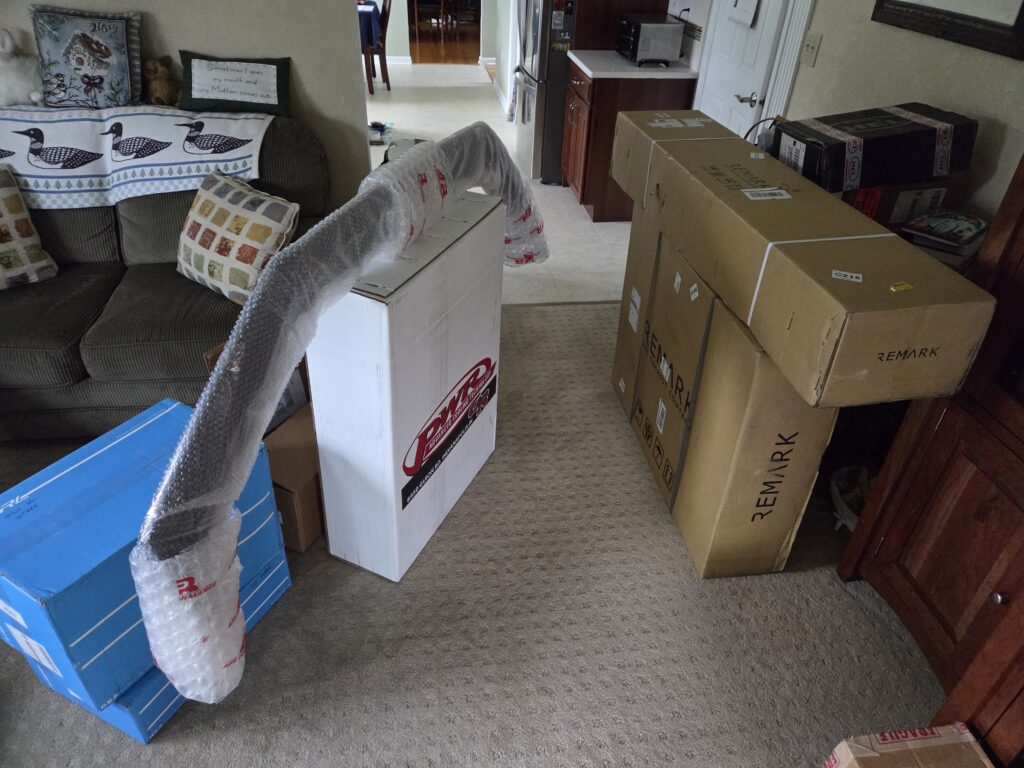
Next up was reaching out to All Tech Automotive and get some time scheduled for an install appointment for all of this stuff. As a testament to the Type R’s storage capacity, I got all but the intercooler into the car. It was so packed, I could not see out the rightside mirror or even the right side of the car, but it help almost all of the parts I’d bought. Semir & Jake of All Tech did a fantastic job of installing the parts, but we had to push some of the project out in order to make my Lime Rock Park track day event. Time ran out before my track day at Lime Rock Park to get my Whiteline Front Camber adjustment kit installed, so that will get done soon.

One thing that popped up immediately (other than the turbo and downpipe blankets curing and smoking lightly on the way home after everything was buttoned up and I drove it for the first time), was a well-known issue of the low-temp thermostat causing a P0128 CEL. Apparently Honda wants the engine to come up to temp quickly for several reasons, so the early opening thermostat triggers the code. The error on the dash warns that power will be reduced, and that the auto-rev match function will be disabled. I found no evidence that the car’s power had been reduced, as the car seemed plenty powerful during my on-track sessions, but indeed the rev matching function was disabled, which I missed since I’m not a great heel-toe guy. I reached out to Jester to see if anything could be done to address the code being triggered, and Jester sent me a new flash tune that would keep the code from being triggered. I ended up flashing my FL5 at the track after the 1st day of on track activities, Sure enough, the code was gone, and I regained my auto-rev matching during the following sessions of the day.